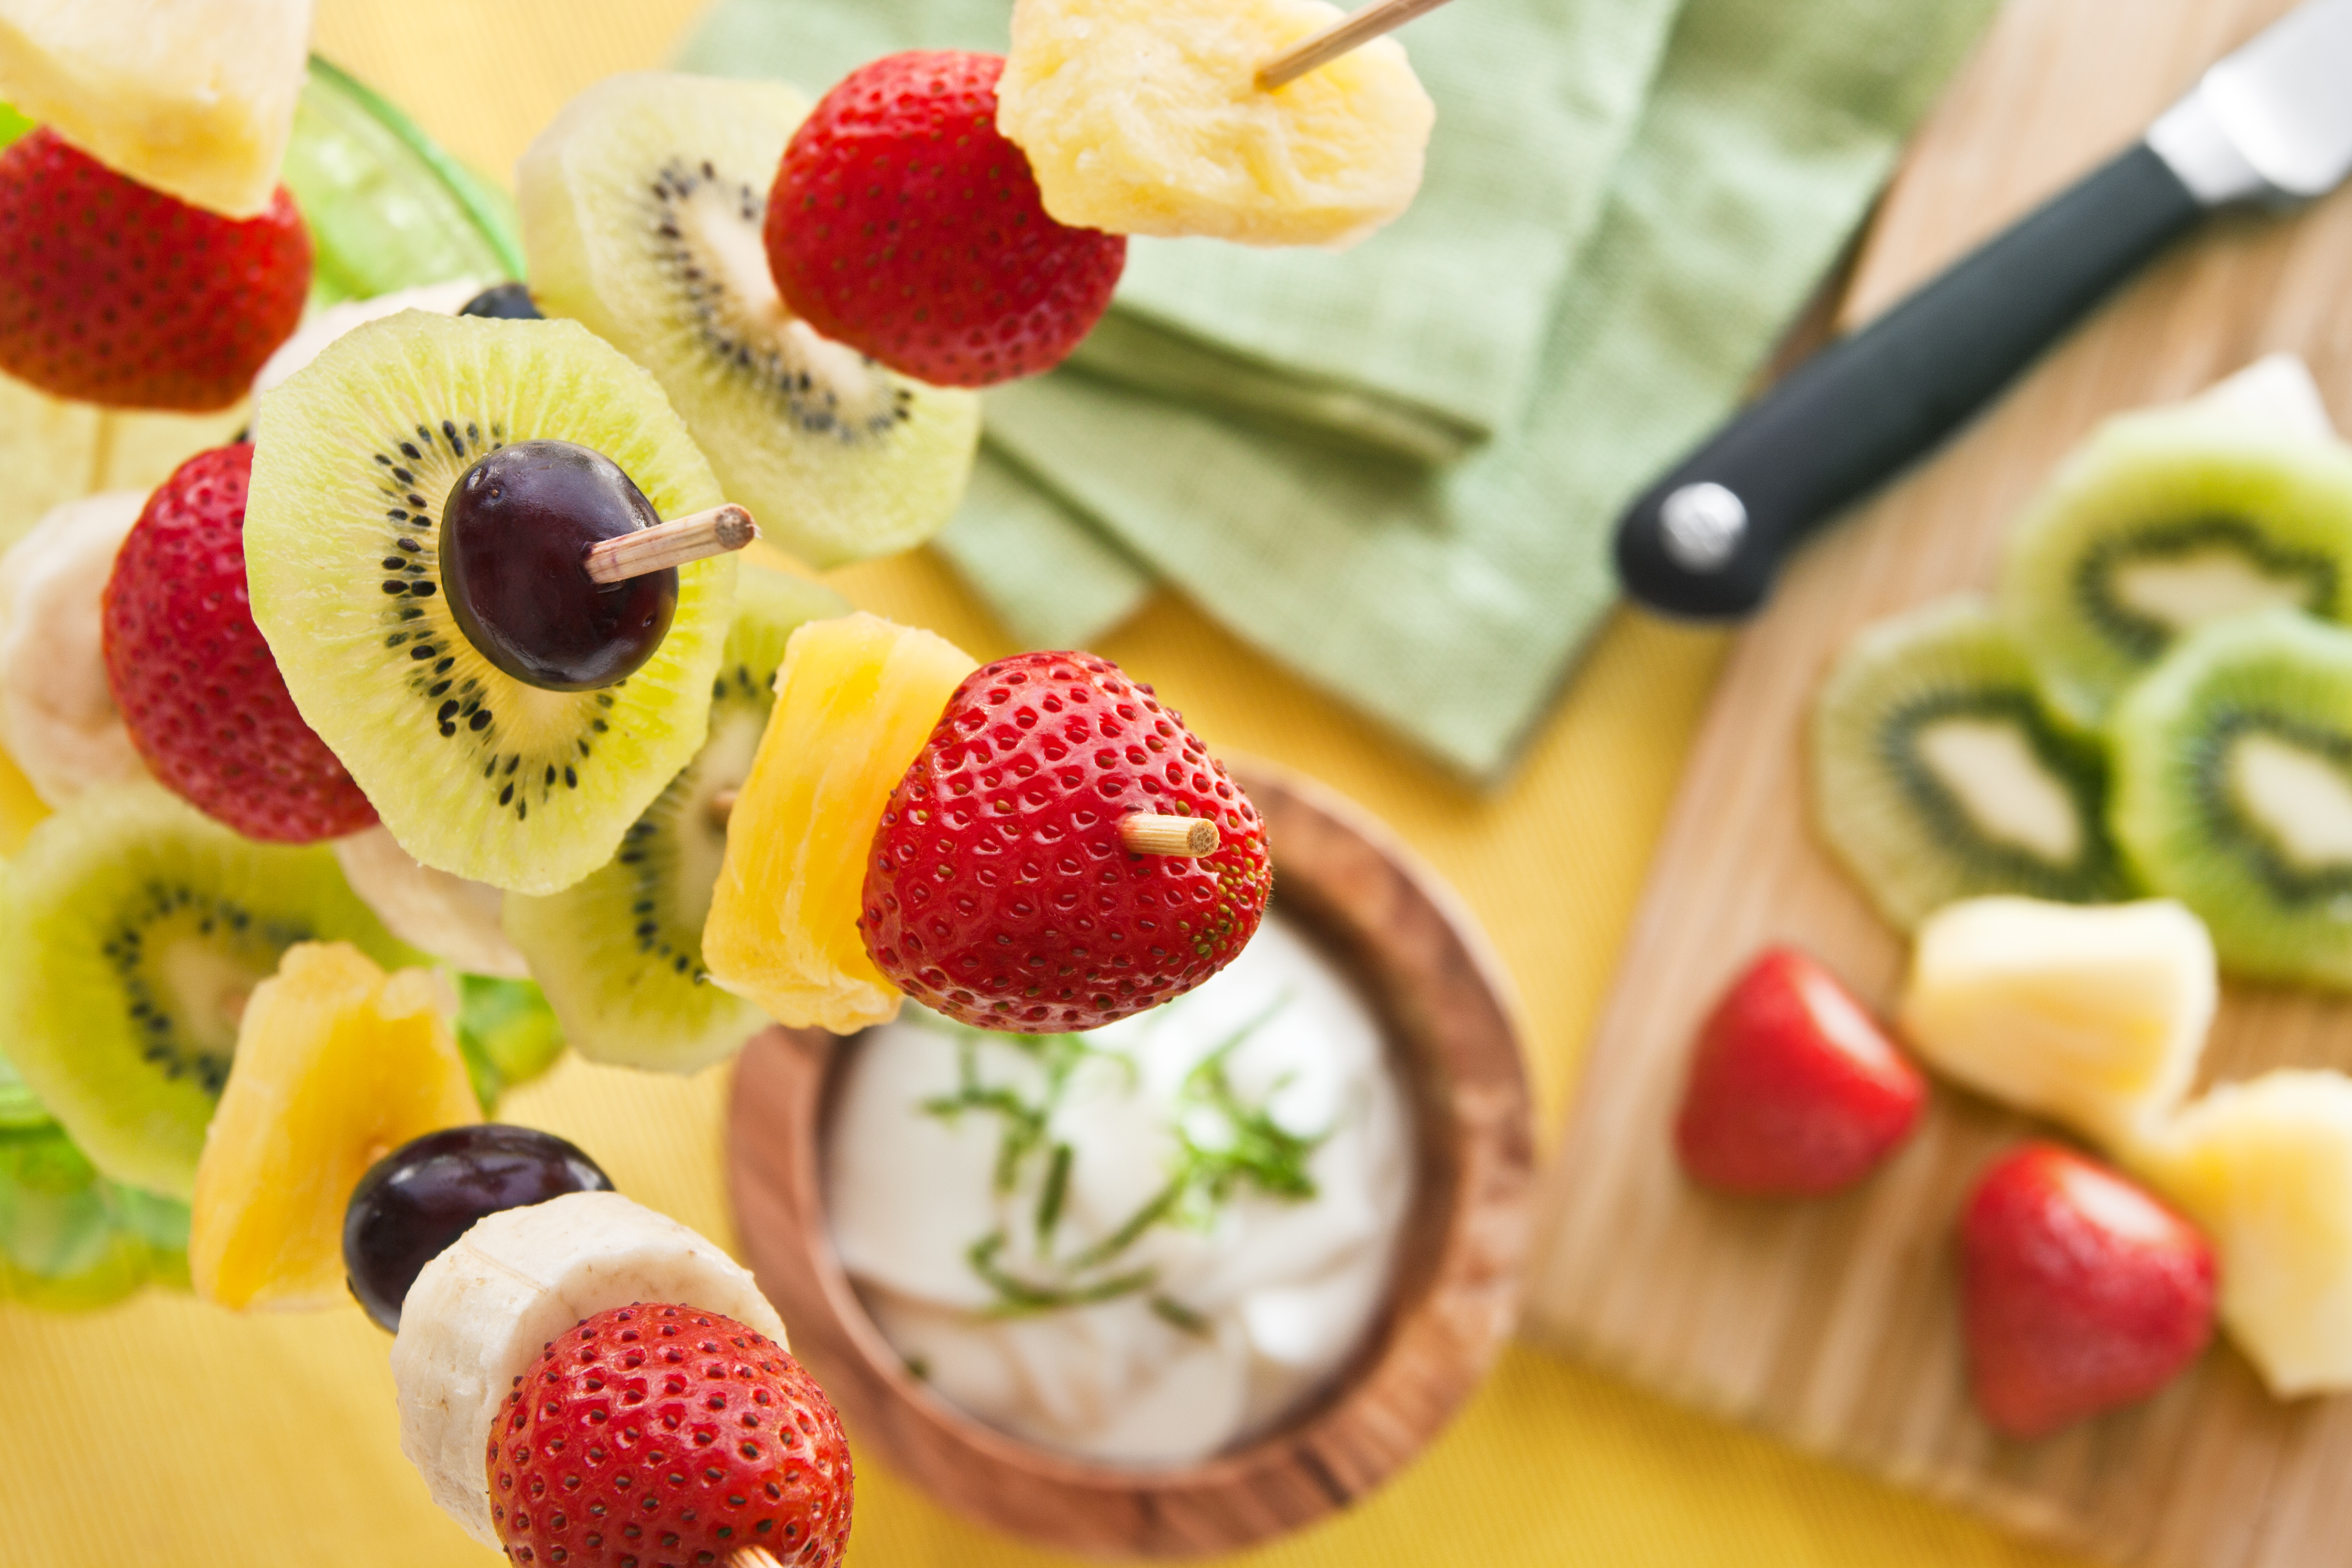
It’s the perfect picture of summer…a picnic to accompany an outdoor concert or trip to a local vineyard or orchard. A chance to leave your kitchen and dining room to embrace a warm summer day. If this picture sounds like just that: a picture (one you only see in magazines), maybe you need a few strategies for pulling together a picnic with ease. Start with these five steps.

Step #1: Remember, it’s still a meal…just an outside meal.
While you may be inspired to prepare every recipe shared on social media (most likely in a jar, of course), it’s definitely worth sticking to “less is more” when it comes to packing a perfect picnic. Remember, if you were preparing a meal at home you would try to make it stress-free and effortless. A picnic should be approached the same way to ensure a laid back, enjoyable meal.
Step #2: Plan a menu.
The best way to ensure you don’t pack too much or too little is to plan a menu ahead of time. Without a menu you may accidentally pack too much of one food group and not enough of another. Plan an entrée, 1-2 vegetable dishes, a side dish and a dessert.
Step #3: Consider the easiest way to eat.
Hand-held watermelon wedges, cold soup you can drink, “no-knife required” cubed cheese or meats, petite sandwiches, and “two bite” sized desserts that are easy to eat and share are just some of the “picnic perfect” options for your next outing. And yes, sometimes it is worth packing some foods in one of those ever popular jars. They are especially helpful for layering grains and vegetables for an interesting side dish or salad.
Step #4: Use individual servings and skewers.
Take advantage of pre-packaged individual servings of hummus, guacamole, and the like (or make your own and package in small containers) so that each picnic participant can enjoy their own. These individual serving options will not only eliminate the potential for “double dipping” (and keep it food-safe), it also ensures you will pack just the amount you need and nothing more. You can also leave your serving utensils at home and pack grilled chicken, vegetables or cold Tandoori Shrimp skewers, which are easy to bring and share. Prepare a fresh fruit kebab too in lieu of fruit salad to remove the need for bowls and forks and to create less waste!
Step #5: Pack it right.
You have put together the ideal picnic menu and now you need to pack it safely to ensure proper temperatures and easy serving. Begin by separating food and drinks (along with less temperature sensitive foods, such as fruit and condiments). This way, the food cooler can remain closed and cold, and not exposed to warm air every time you want a bottle of water or possibly another sip of Strawberry Mint Spritzer. Be sure to use an adequate number of ice packs and leave food out of the cooler for only two hours or less.
With these five steps and the extra tips and recipes below, your next outstanding outdoor meal will come together effortlessly, and your picnic will be the stuff pictures are made of.
A bit more for your next picnic…
- A “cooler ready” recipe round up
- The best food storage containers for the job
- Pull together one of these DIY cup holders to ensure less spilling (and a dryer picnic)
- Consider investing in a convenient, easy table to turn a lawn into a true outdoor dining room
- Bring along a waterproof picnic blanket